
Techniques
Photographing an Active Volcano by Drone in Iceland
How I photograph an active Icelandic eruption by drone and bring the images home safely. First-hand notes on distance, manual control, wind, gear and staying safe.
Quick answer
How do you photograph an active volcano by drone, and get it home?
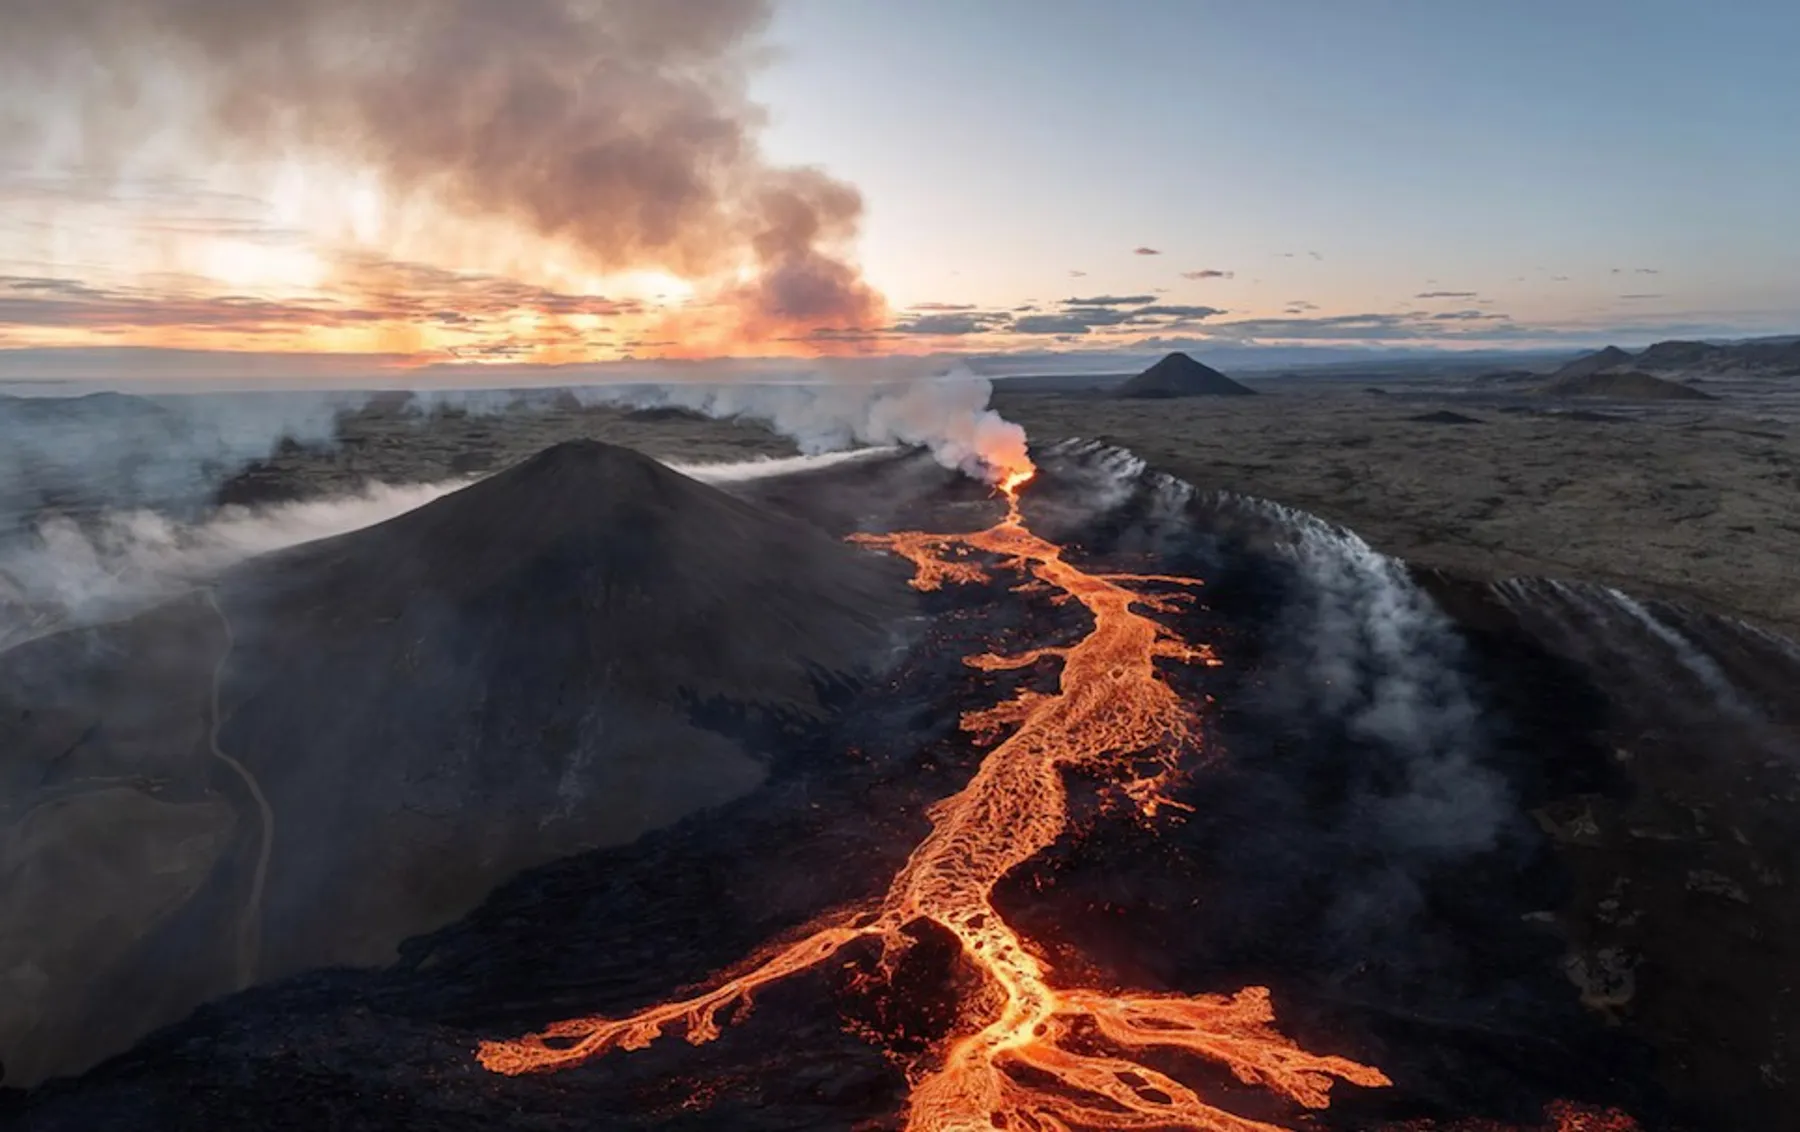
You need three things above the images themselves: safe distance, manual controls, and a plan to get the aircraft home. Fly no closer than roughly 40–50 m above the vent, switch off the automated modes that the magma's magnetic field can scramble, and always keep enough battery to fight the wind back to you. Everything below is how I actually do it, from the edge of the Reykjanes eruption.
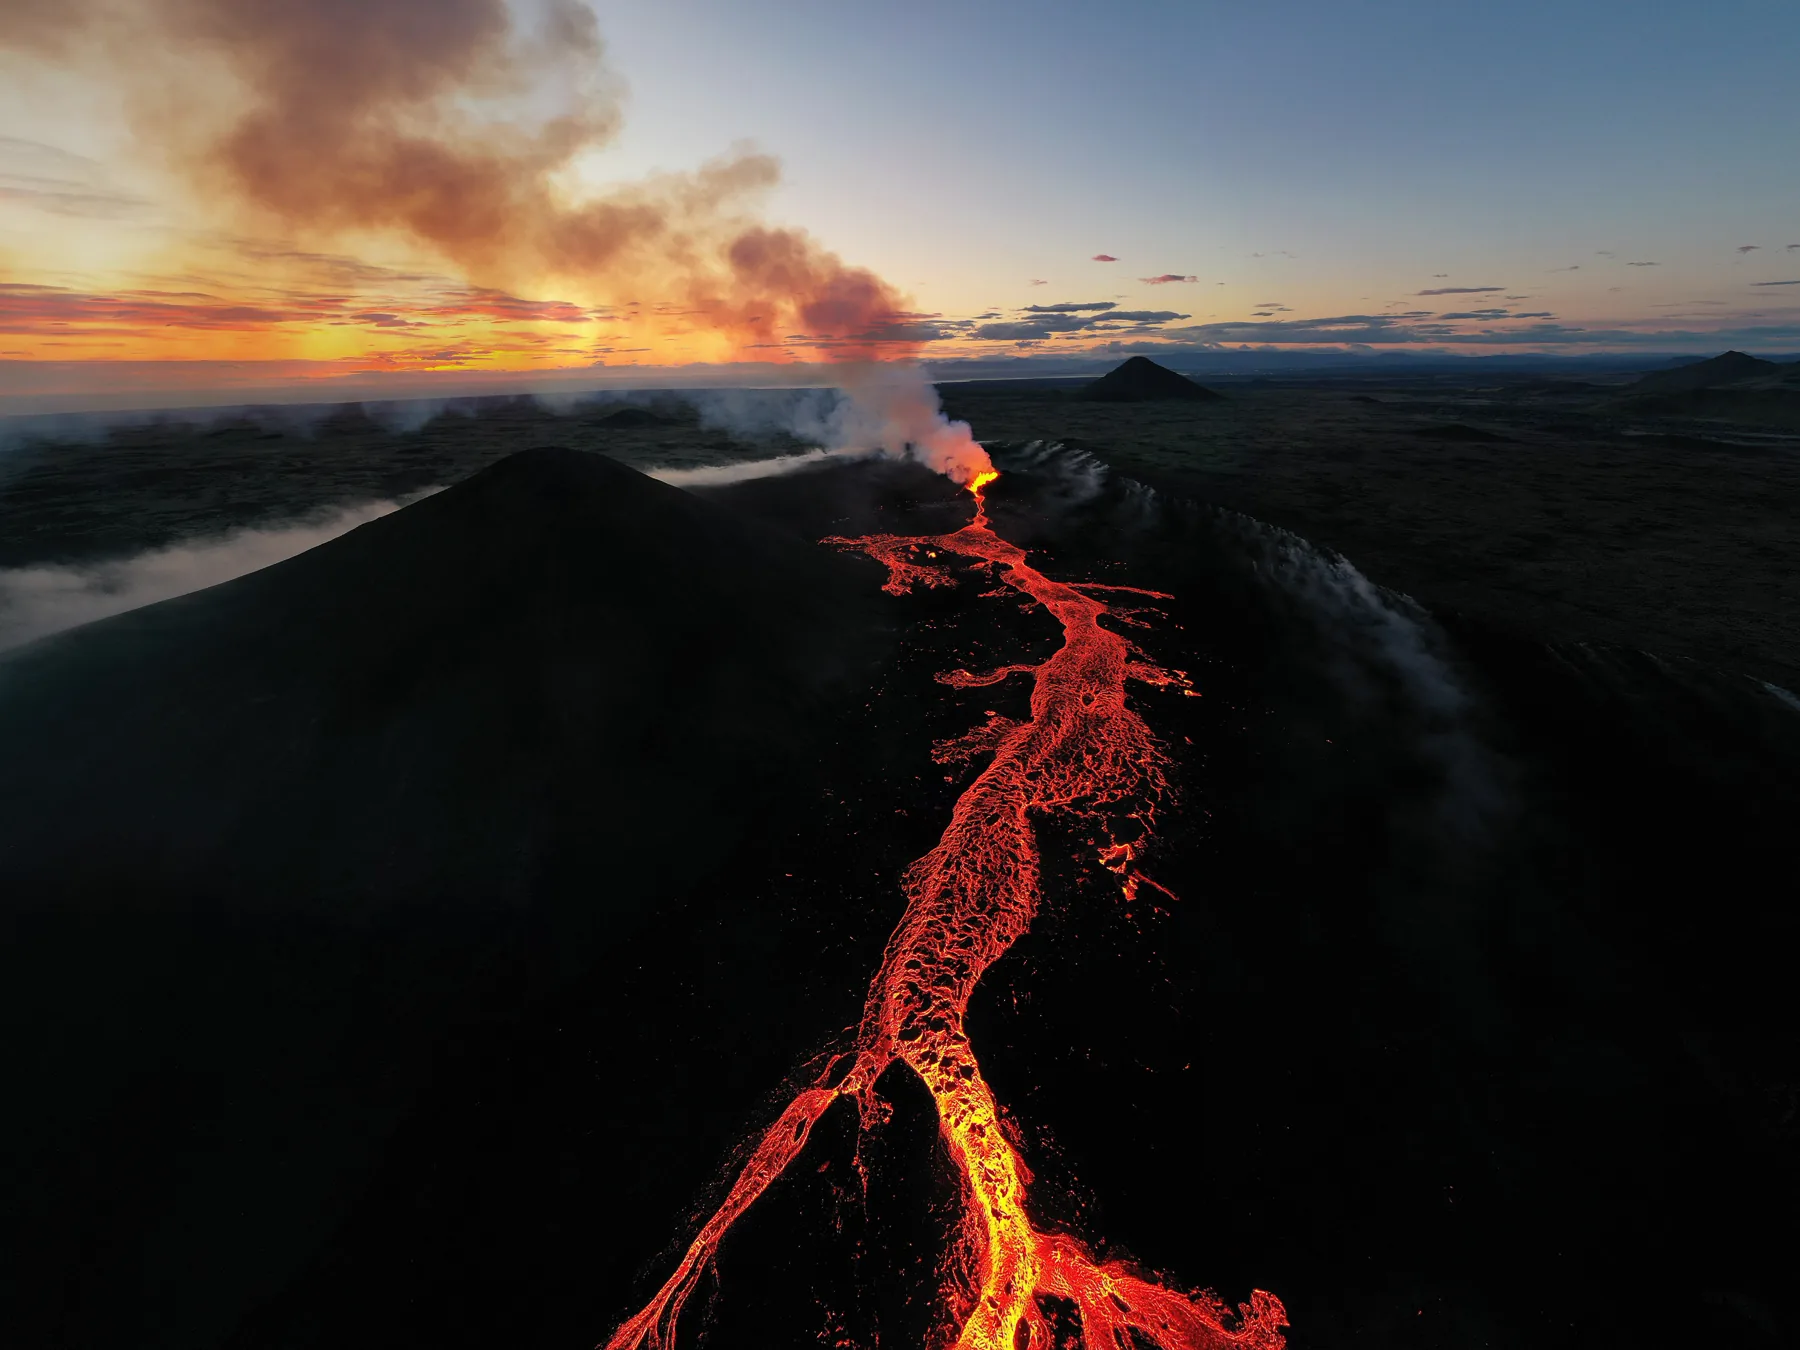
I have been fascinated by volcanoes for as long as I have held a camera. When the Reykjanes peninsula started erupting a short drive from Reykjavík, I packed my drones and went. Photographing it from the air is one of the most exhilarating things I have ever done. It is also one of the few subjects where a careless mistake costs you far more than a photograph.
Nine things I do to fly over lava and come home with the shot
1. Keep a safe distance from the lava
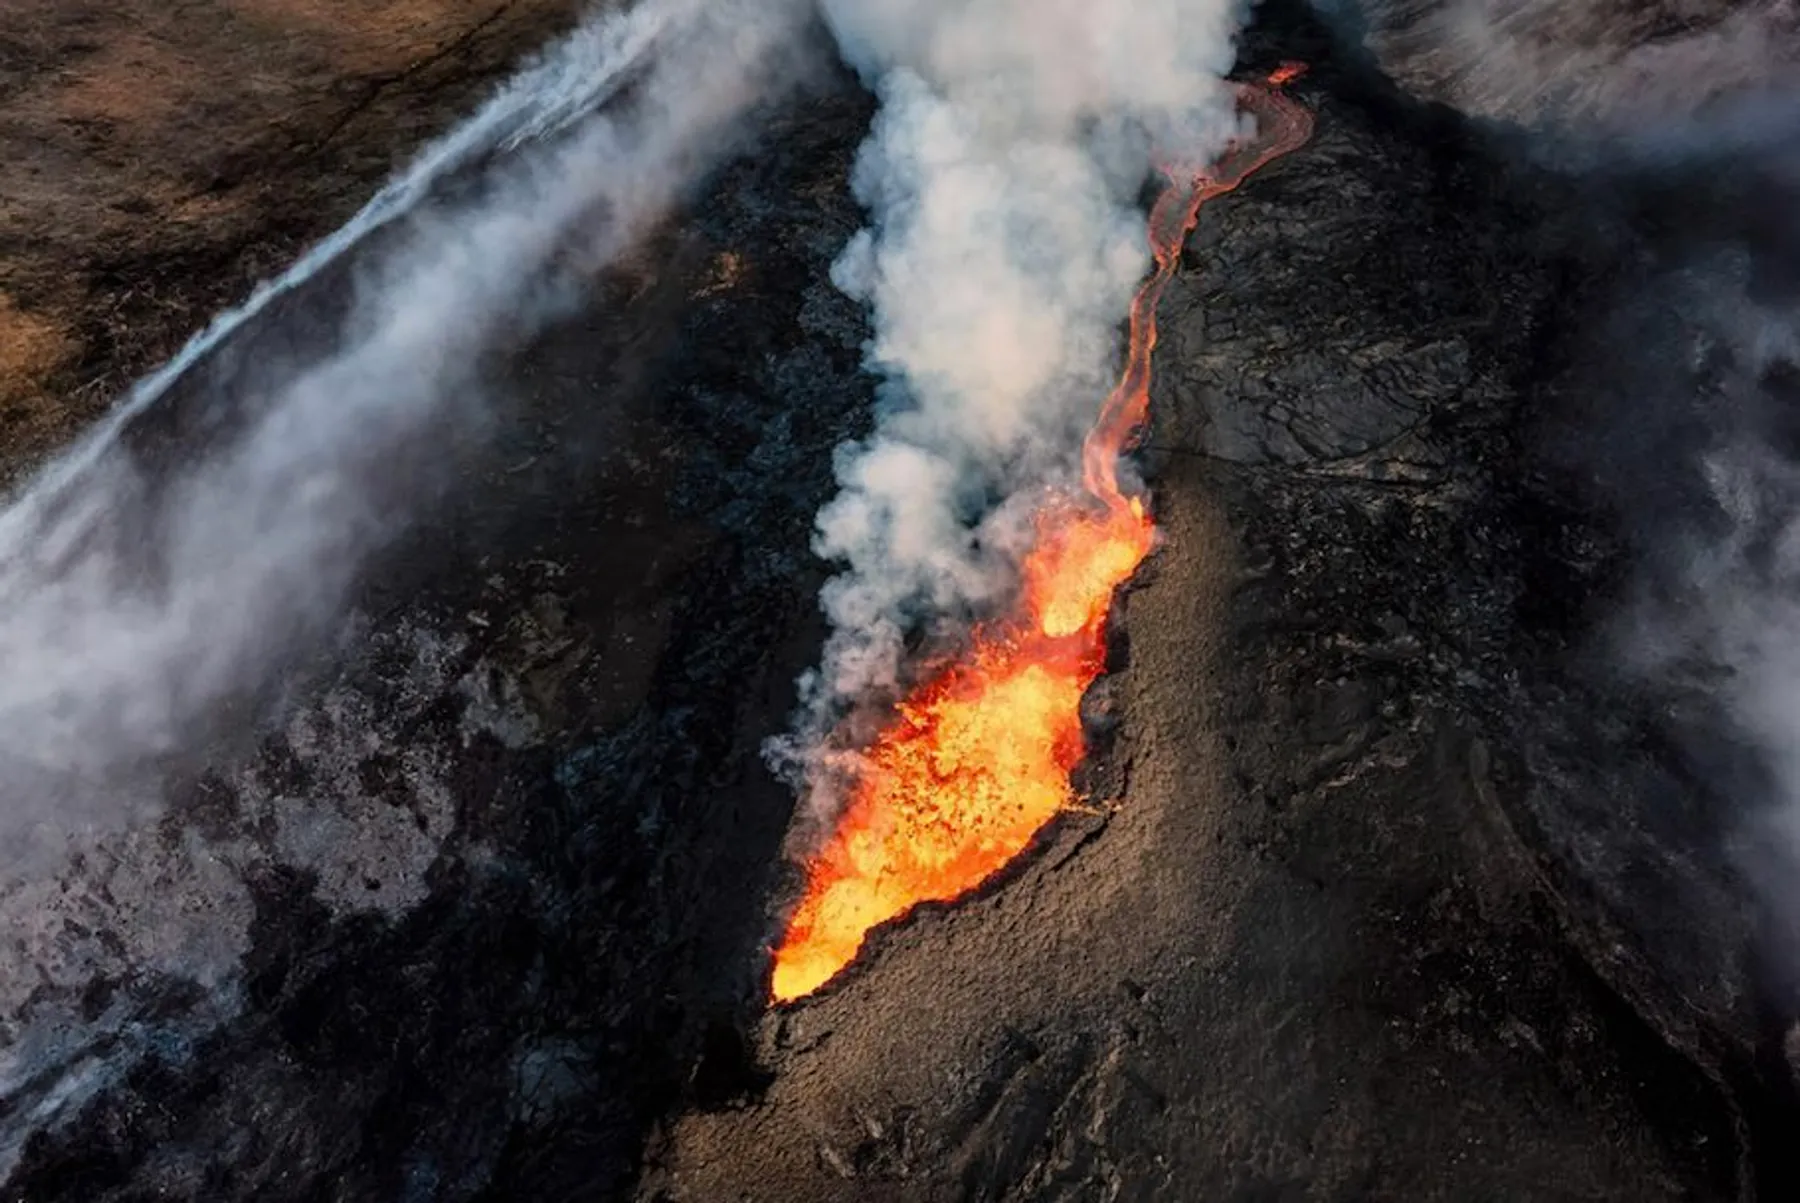
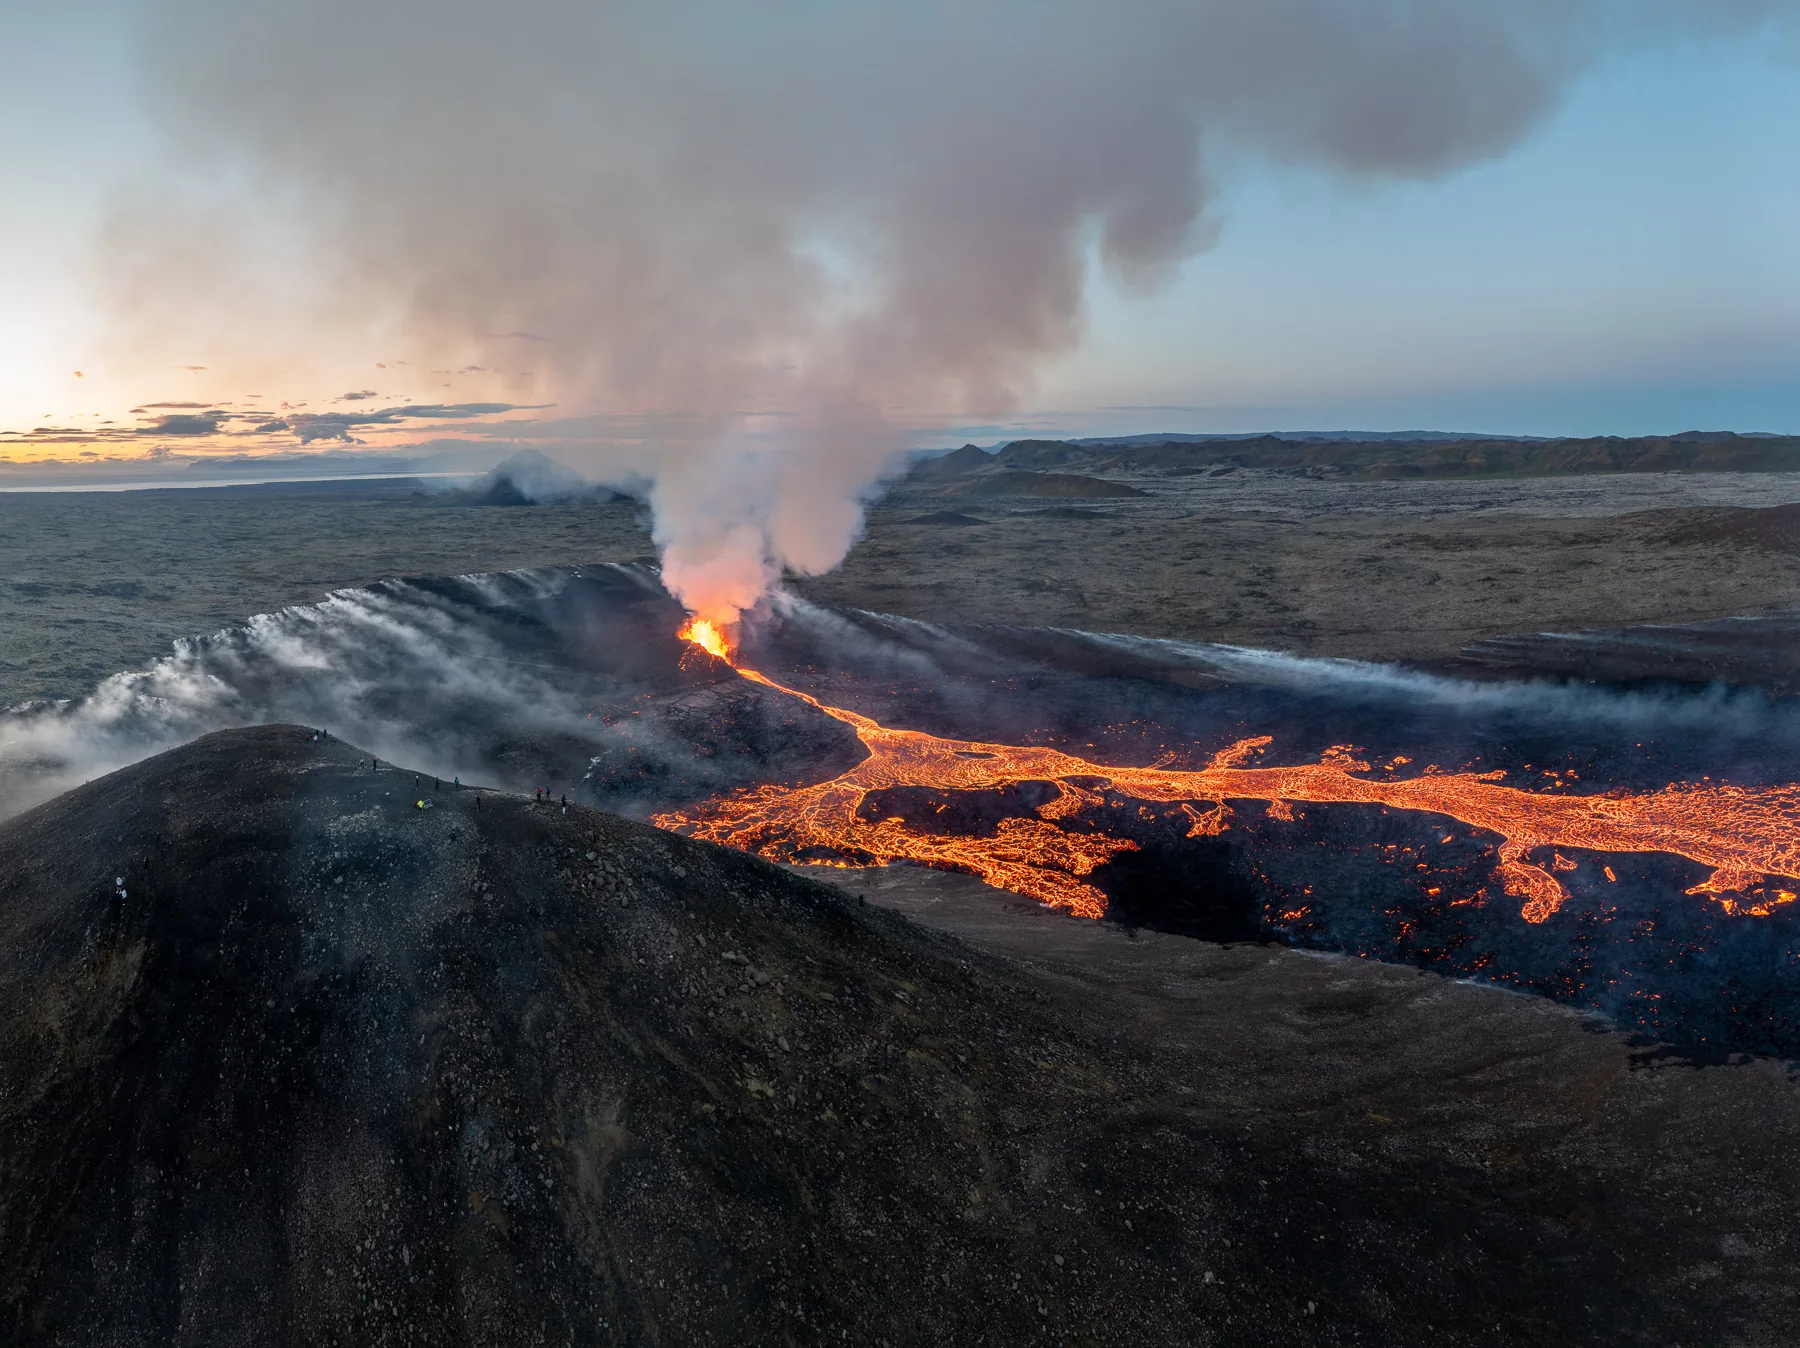
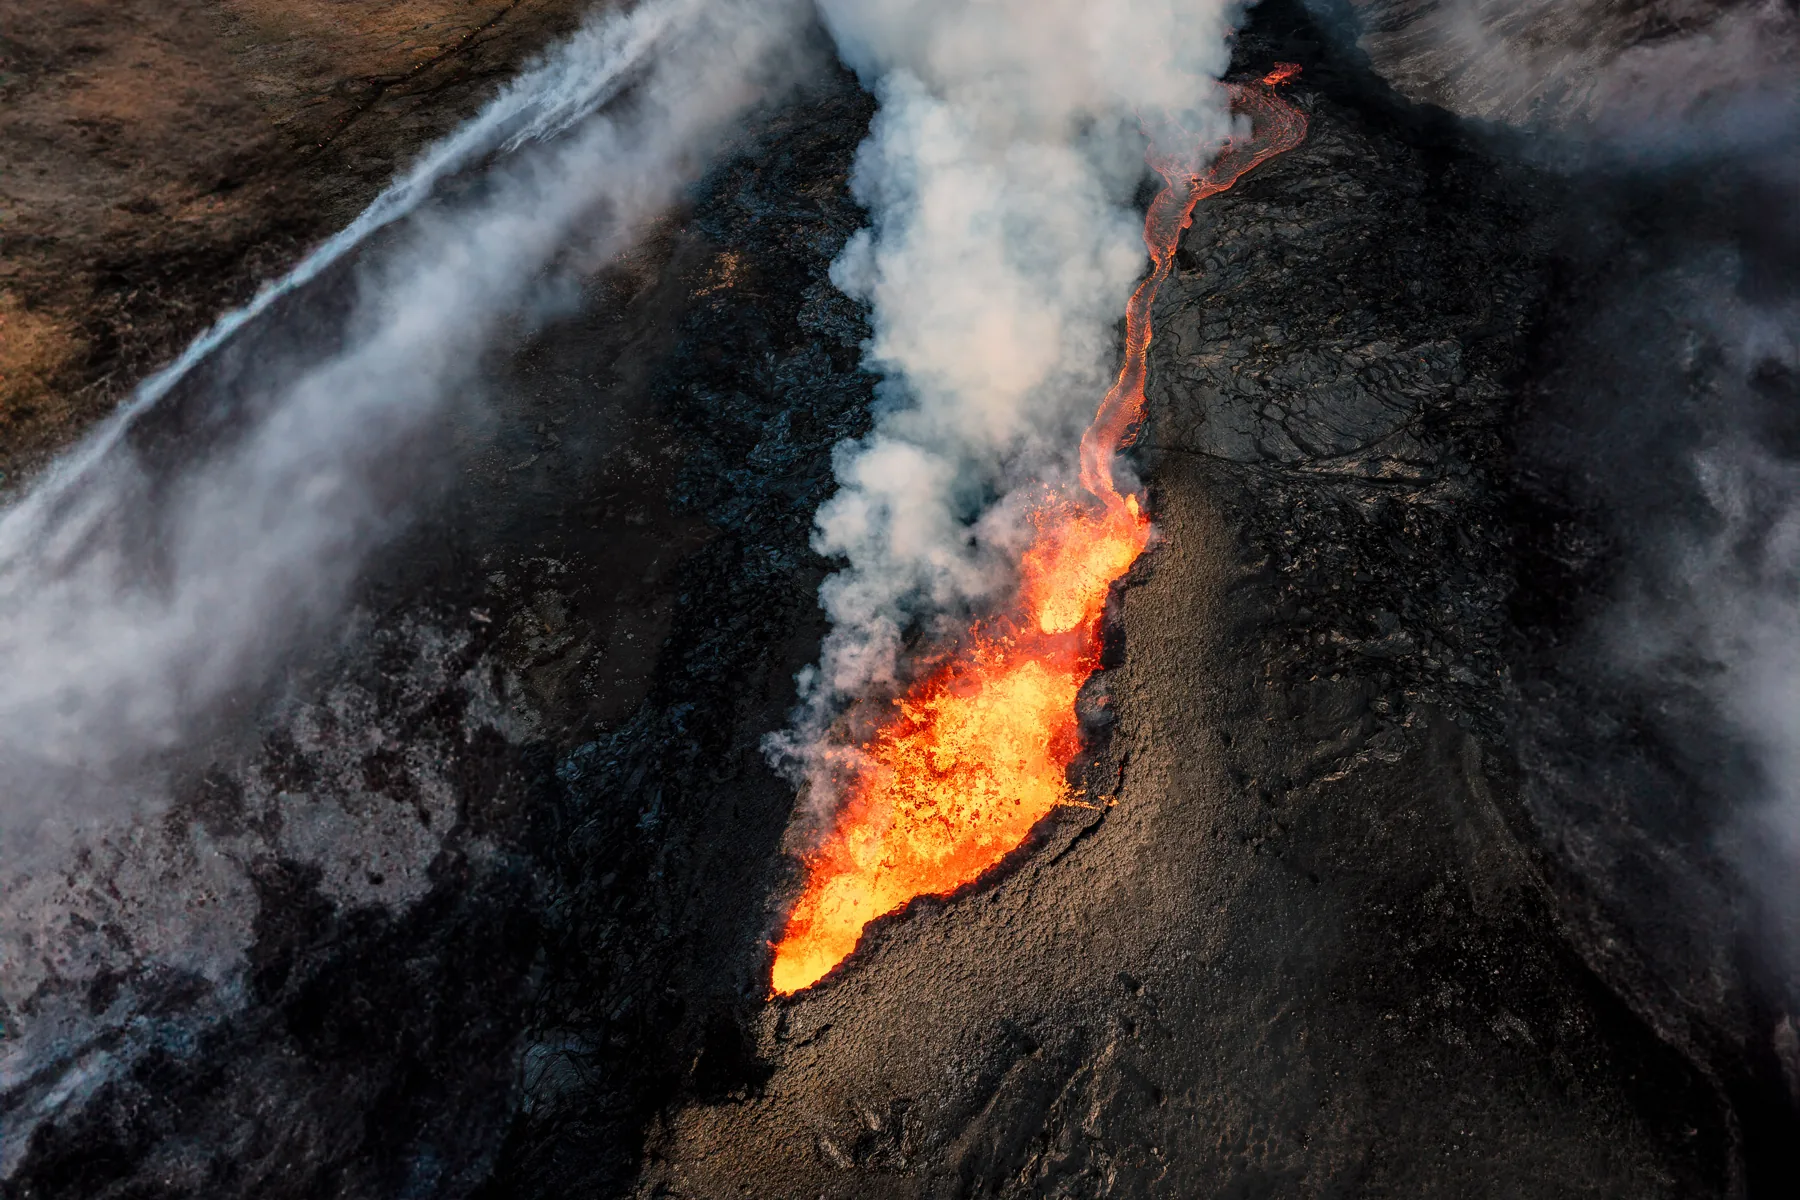
It sounds obvious, but distance is everything. Walls of cooled lava collapse without warning and pockets of gas can react explosively, and both will take your drone with them. Or even worse, endanger you if you get too close or end up in the lava’s path. There is no single “safe” altitude, but above about 40–50 m the wind keeps temperatures manageable. Keep a constant visual on the aircraft and never fly it into the hot gas plume.
2. Manual control is the whole game
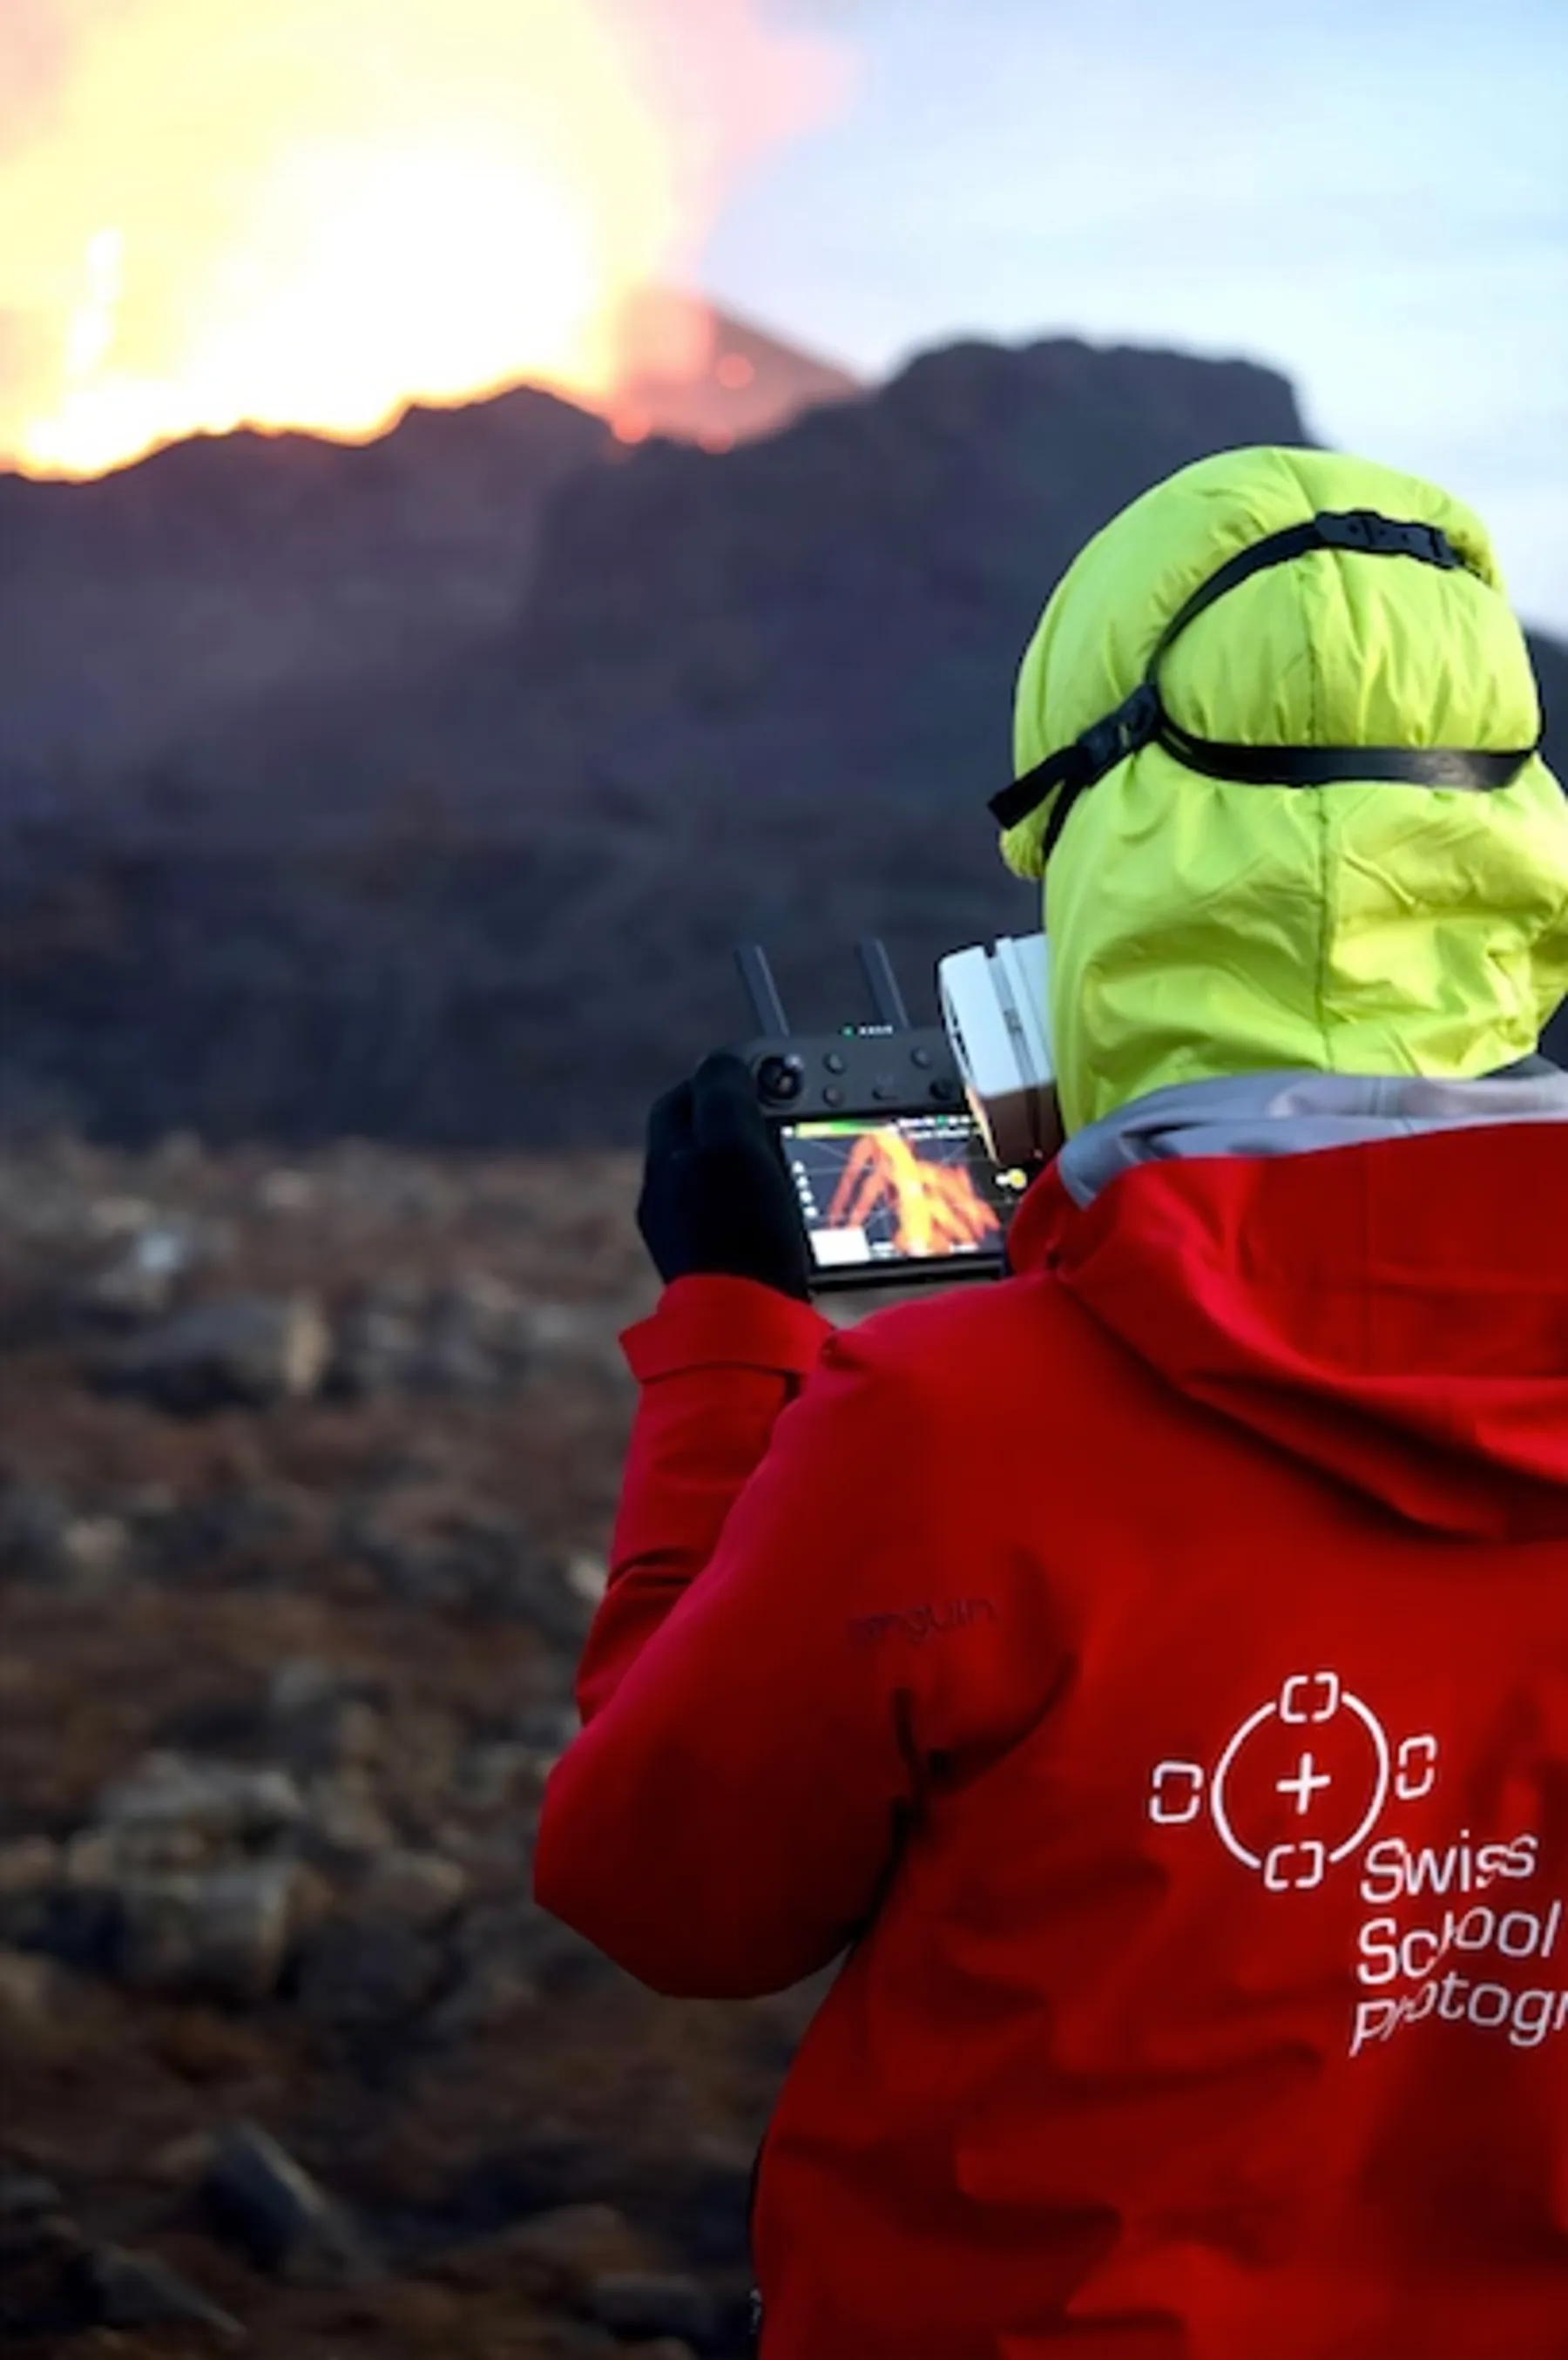
This is the tip that saves drones. Volcanic magma is rich in ferromagnetic elements, and combined with the intense heat it distorts the local magnetic field. That plays havoc with your drone’s compass: misreadings, navigation errors, a Return-to-Home that flies the wrong way. Turn the clever automation off and make sure you can fly it back by hand, always.
3. Shoot bracketed, shoot RAW
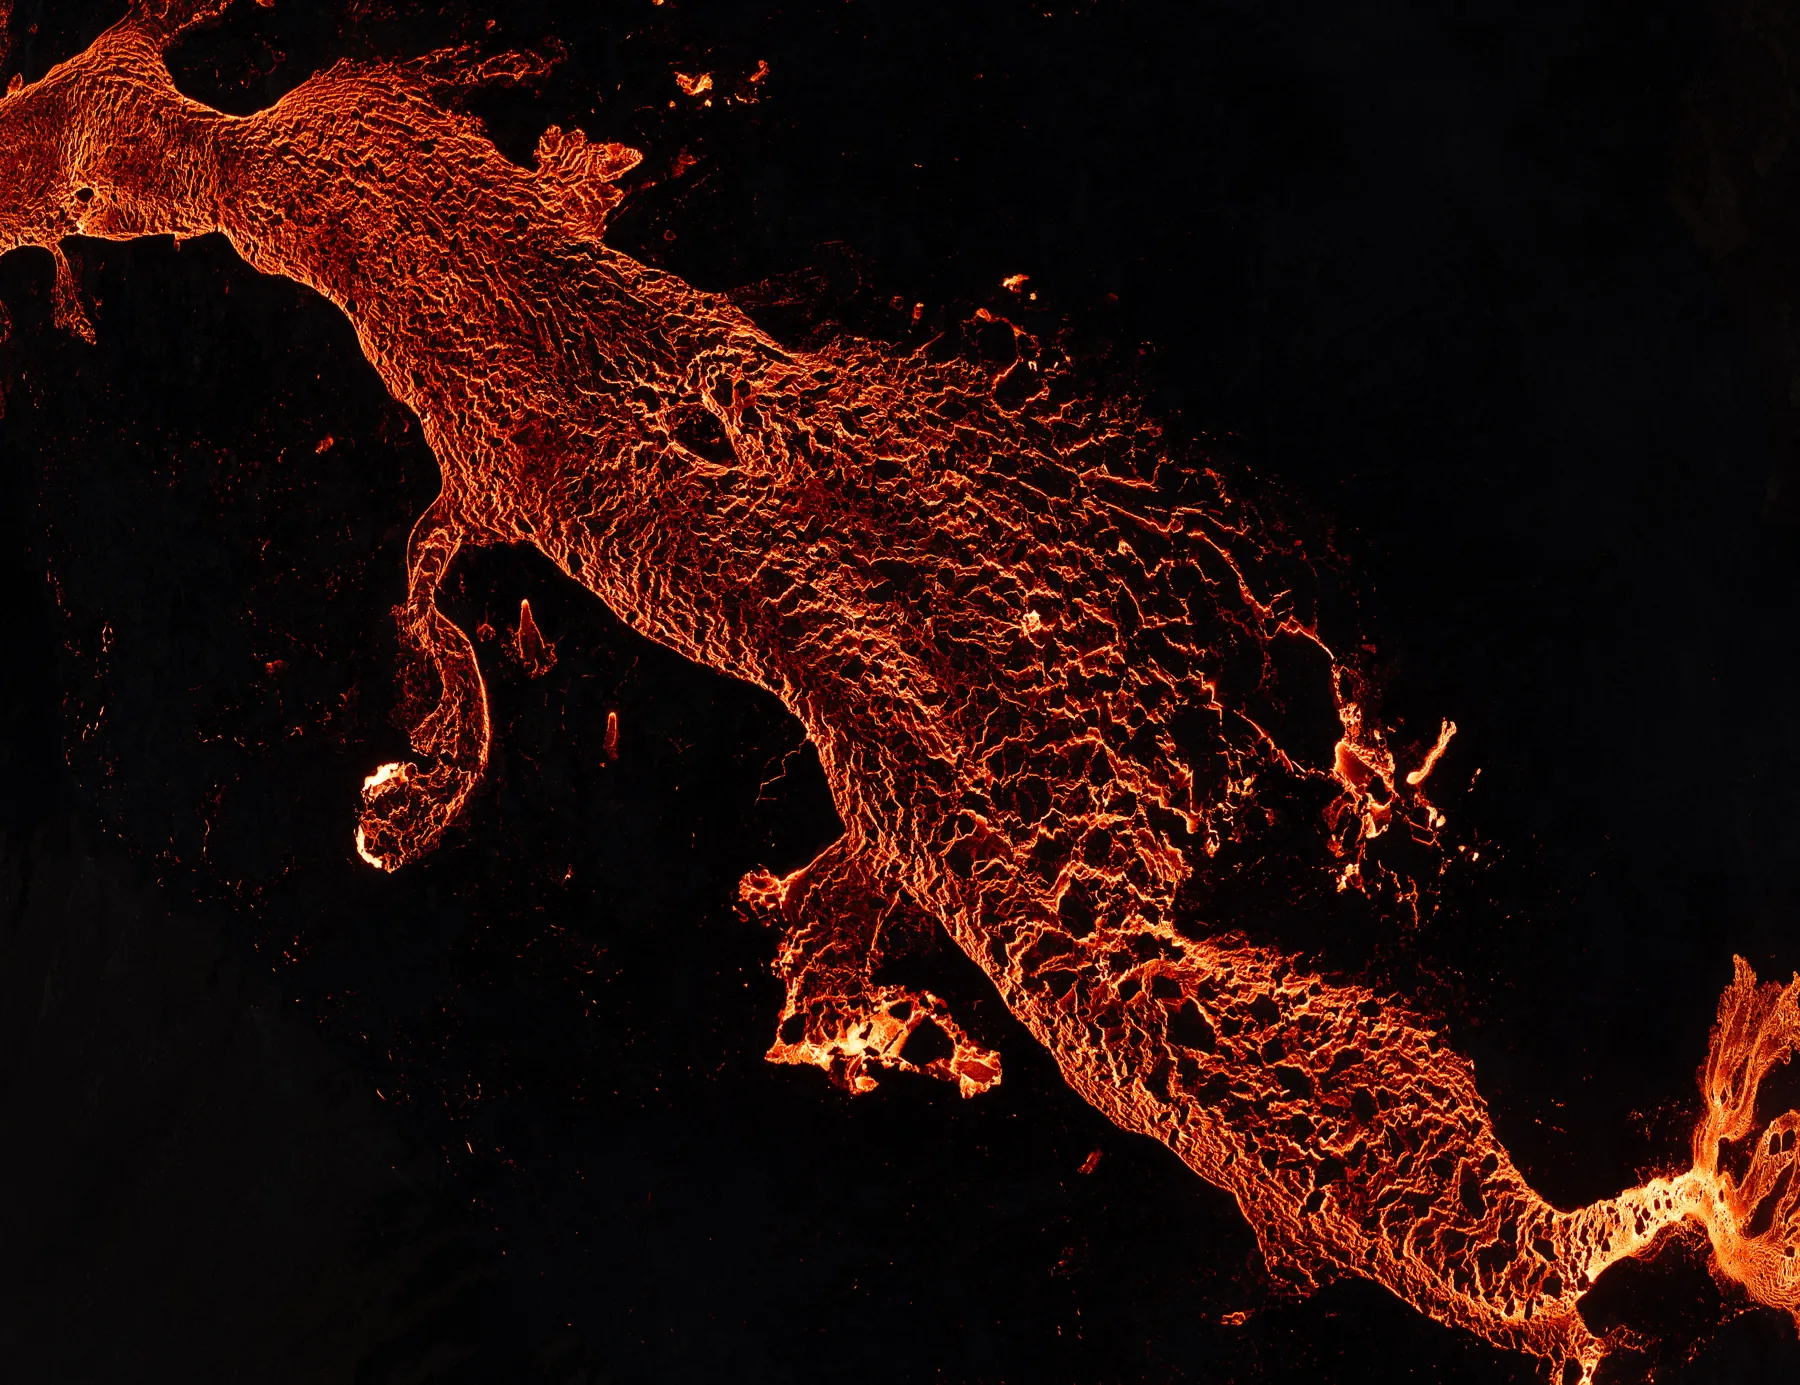
The gap between glowing lava and near-black rock is enormous, more than a single exposure can capture. I shoot RAW and bracket every composition (one under, one over, one metered) so the detail is there to recover later. A quick HDR merge afterwards recovers both the molten highlights and the shadowed terrain.
4. Keep the drone moving
Hovering over boiling magma cooks a drone from below. Hold position too long and you can genuinely melt it. I keep the aircraft moving and let it cool between compositions. If you carry two, alternate: one flies while the other cools and you back up its footage. That’s what I did during this eruption, with a Gnarbox 2 SSD, a rugged, portable backup and storage device designed for photographers and videographers to manage media in the field without needing a laptop. Unfortunately the company went bankrupt, but I own two and still use them on location to back up my media.
5. Respect the wind and the updrafts
Iceland is relentlessly windy, and that alone eats battery and stability. Add the column of hot air rising off the lava meeting the cold air around it and you get sudden updrafts. If the drone starts fighting to stay level, don’t make sharp inputs. Settle it, assess, and land early if the air is winning.
6. Swap SD cards between flights
If you do lose an aircraft, you don’t want to lose everything on it. I swap SD cards between flights so previous footage is already safe on the ground, and back up in the field whenever there’s a pause. If backing up is not possible, make sure to carry several cards, using a fresh one for each flight.
7. Give other drones room
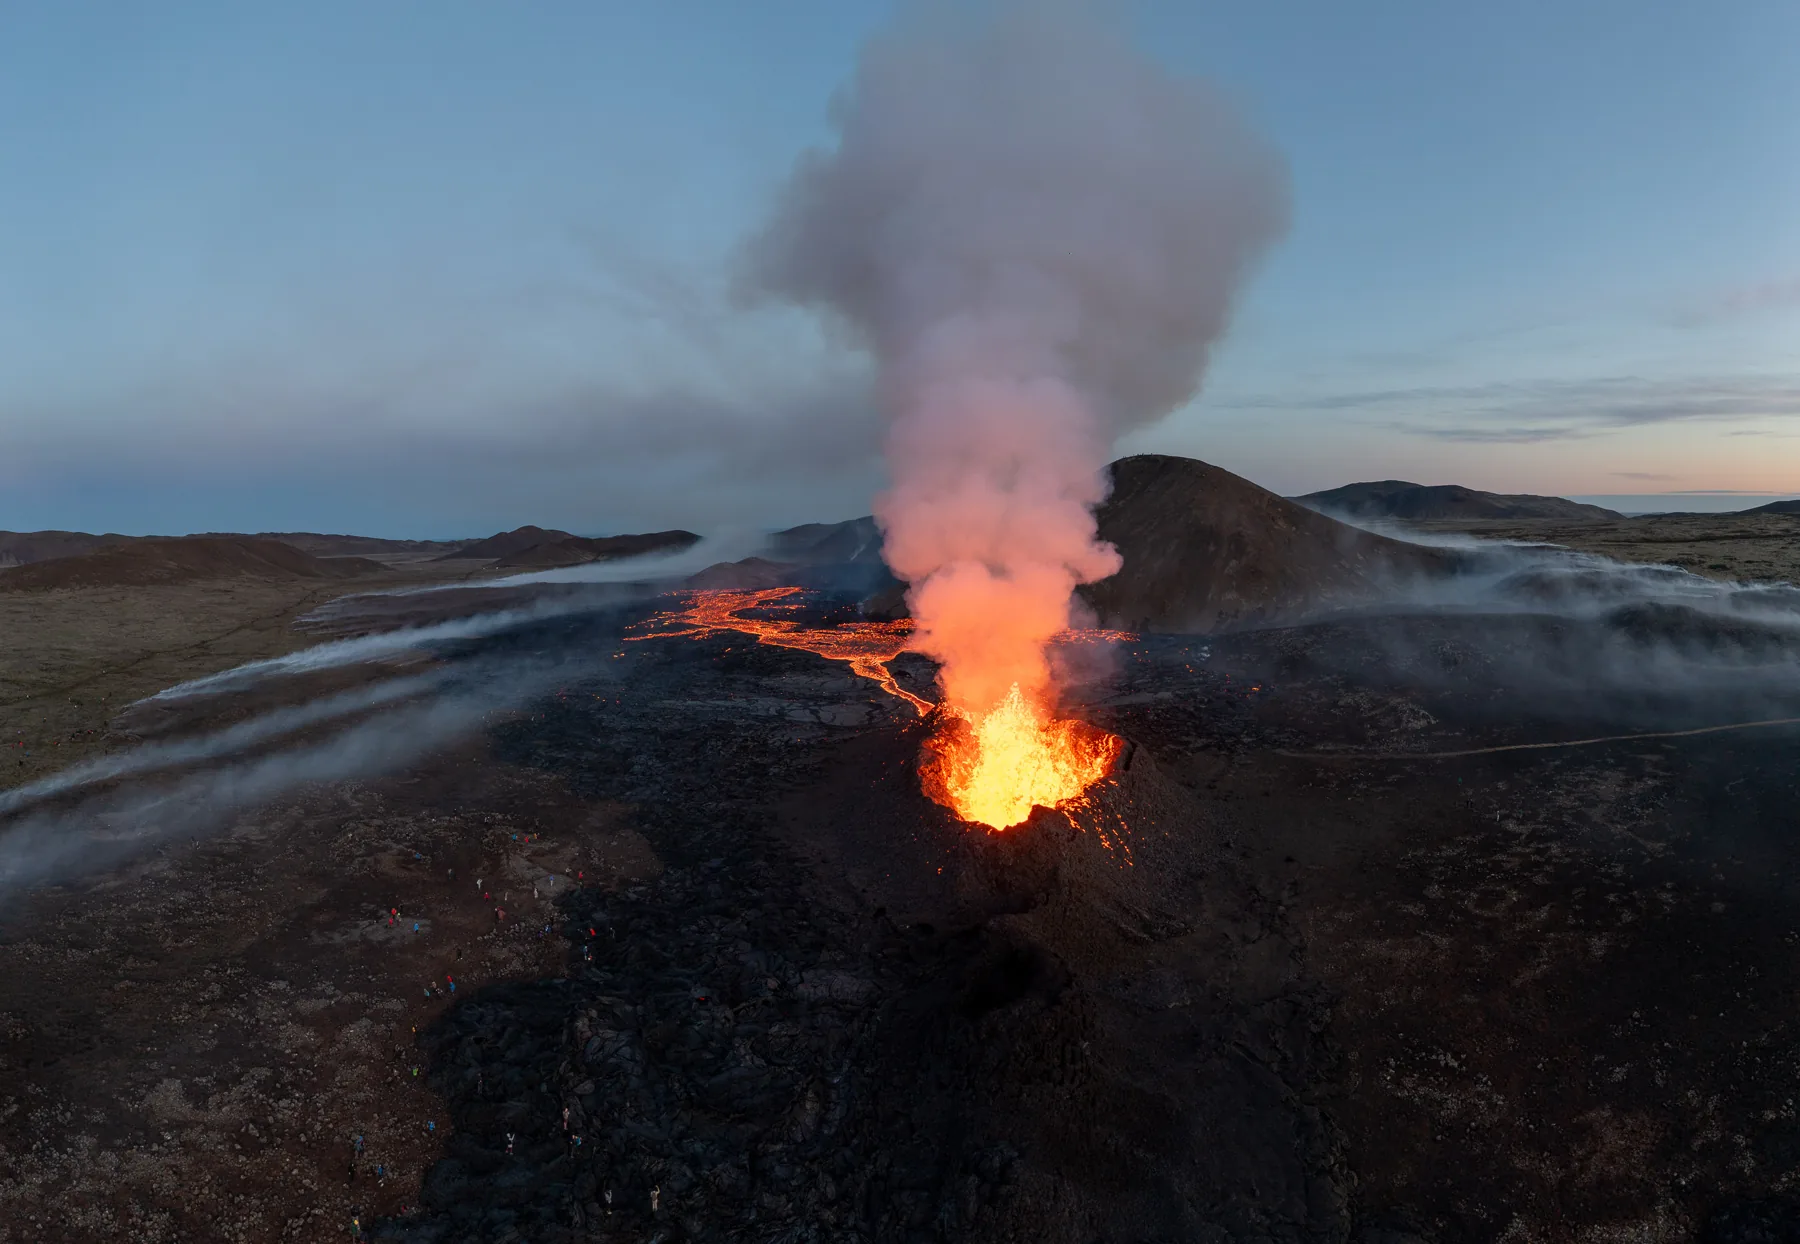
At the eruption I counted around twenty drones in the air at once. Other transmitters degrade your control and video link, so keep your distance, and be considerate. People have traveled a long way to witness this; don’t fly recklessly near them or over the crowd. If you watch the video above carefully, you will see some of those drones, especially one just cruising a few meters away!
8. Choose the right drone for the day
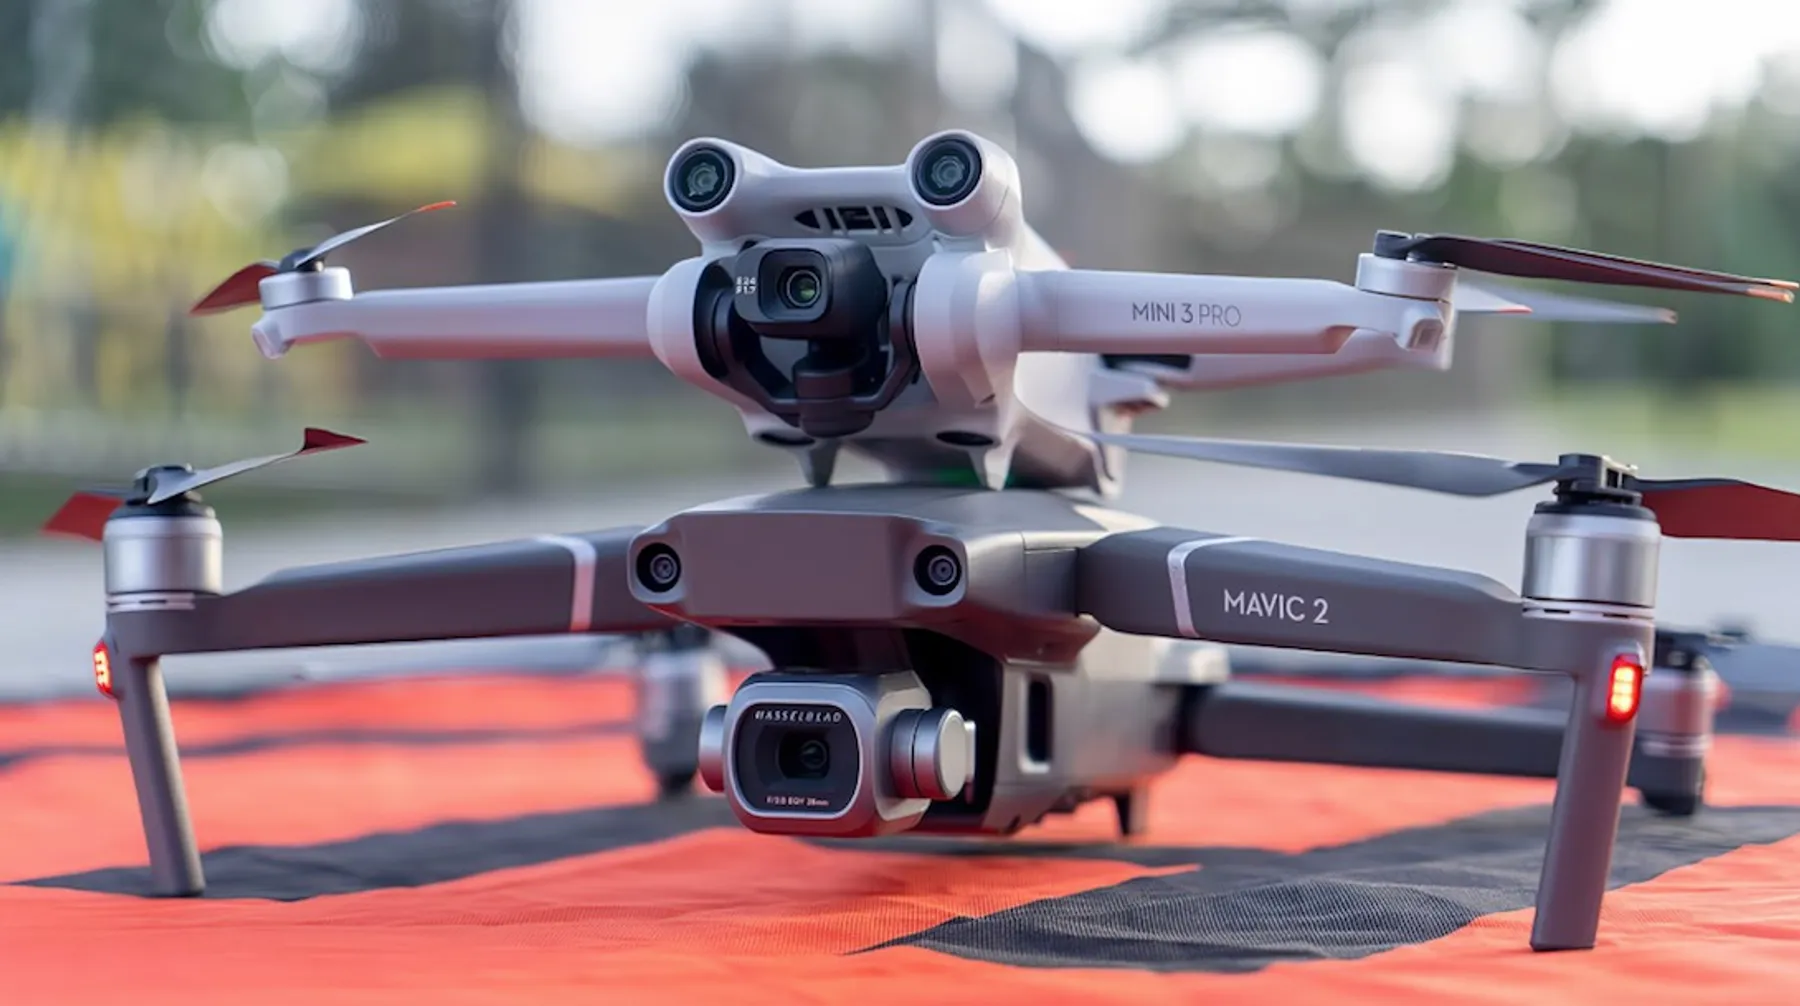
If you have options, fly the drone with the best wind resistance. On my last trip I carried a Mavic 2 Pro and a Mini 3 Pro. The larger Mavic handled the strong wind far more comfortably and was my first choice; in calmer moments I sent up the Mini for vertical 4K clips for social. Small drones are wonderful, but wind is not their friend.
9. Always keep a battery margin
Land with reserve in the tank. Never fly a battery to the edge. You need the power to punch back through a headwind that wasn’t there on the way out. The last place you want an emergency landing is an active volcanic field.
Staying safe is the real skill
No photograph is worth your health. Be ready to turn back.
Respiratory protection. Volcanic gases (sulfur dioxide, carbon dioxide, hydrogen sulfide and others) are harmful and, in concentration, lethal. A proper gas mask is not optional. I use a JSP mask with an ABEK1 P3 filter, the same specification the Icelandic Search and Rescue team wore on site; a simple dust mask does nothing against gas. It handles the acid gases and fine particulates, though no filter can make an oxygen-deficient depression safe, so I also follow the official gas advisories and keep to the marked route. On the walk out, plenty of people around us were coughing hard. We were fine, because we came prepared.
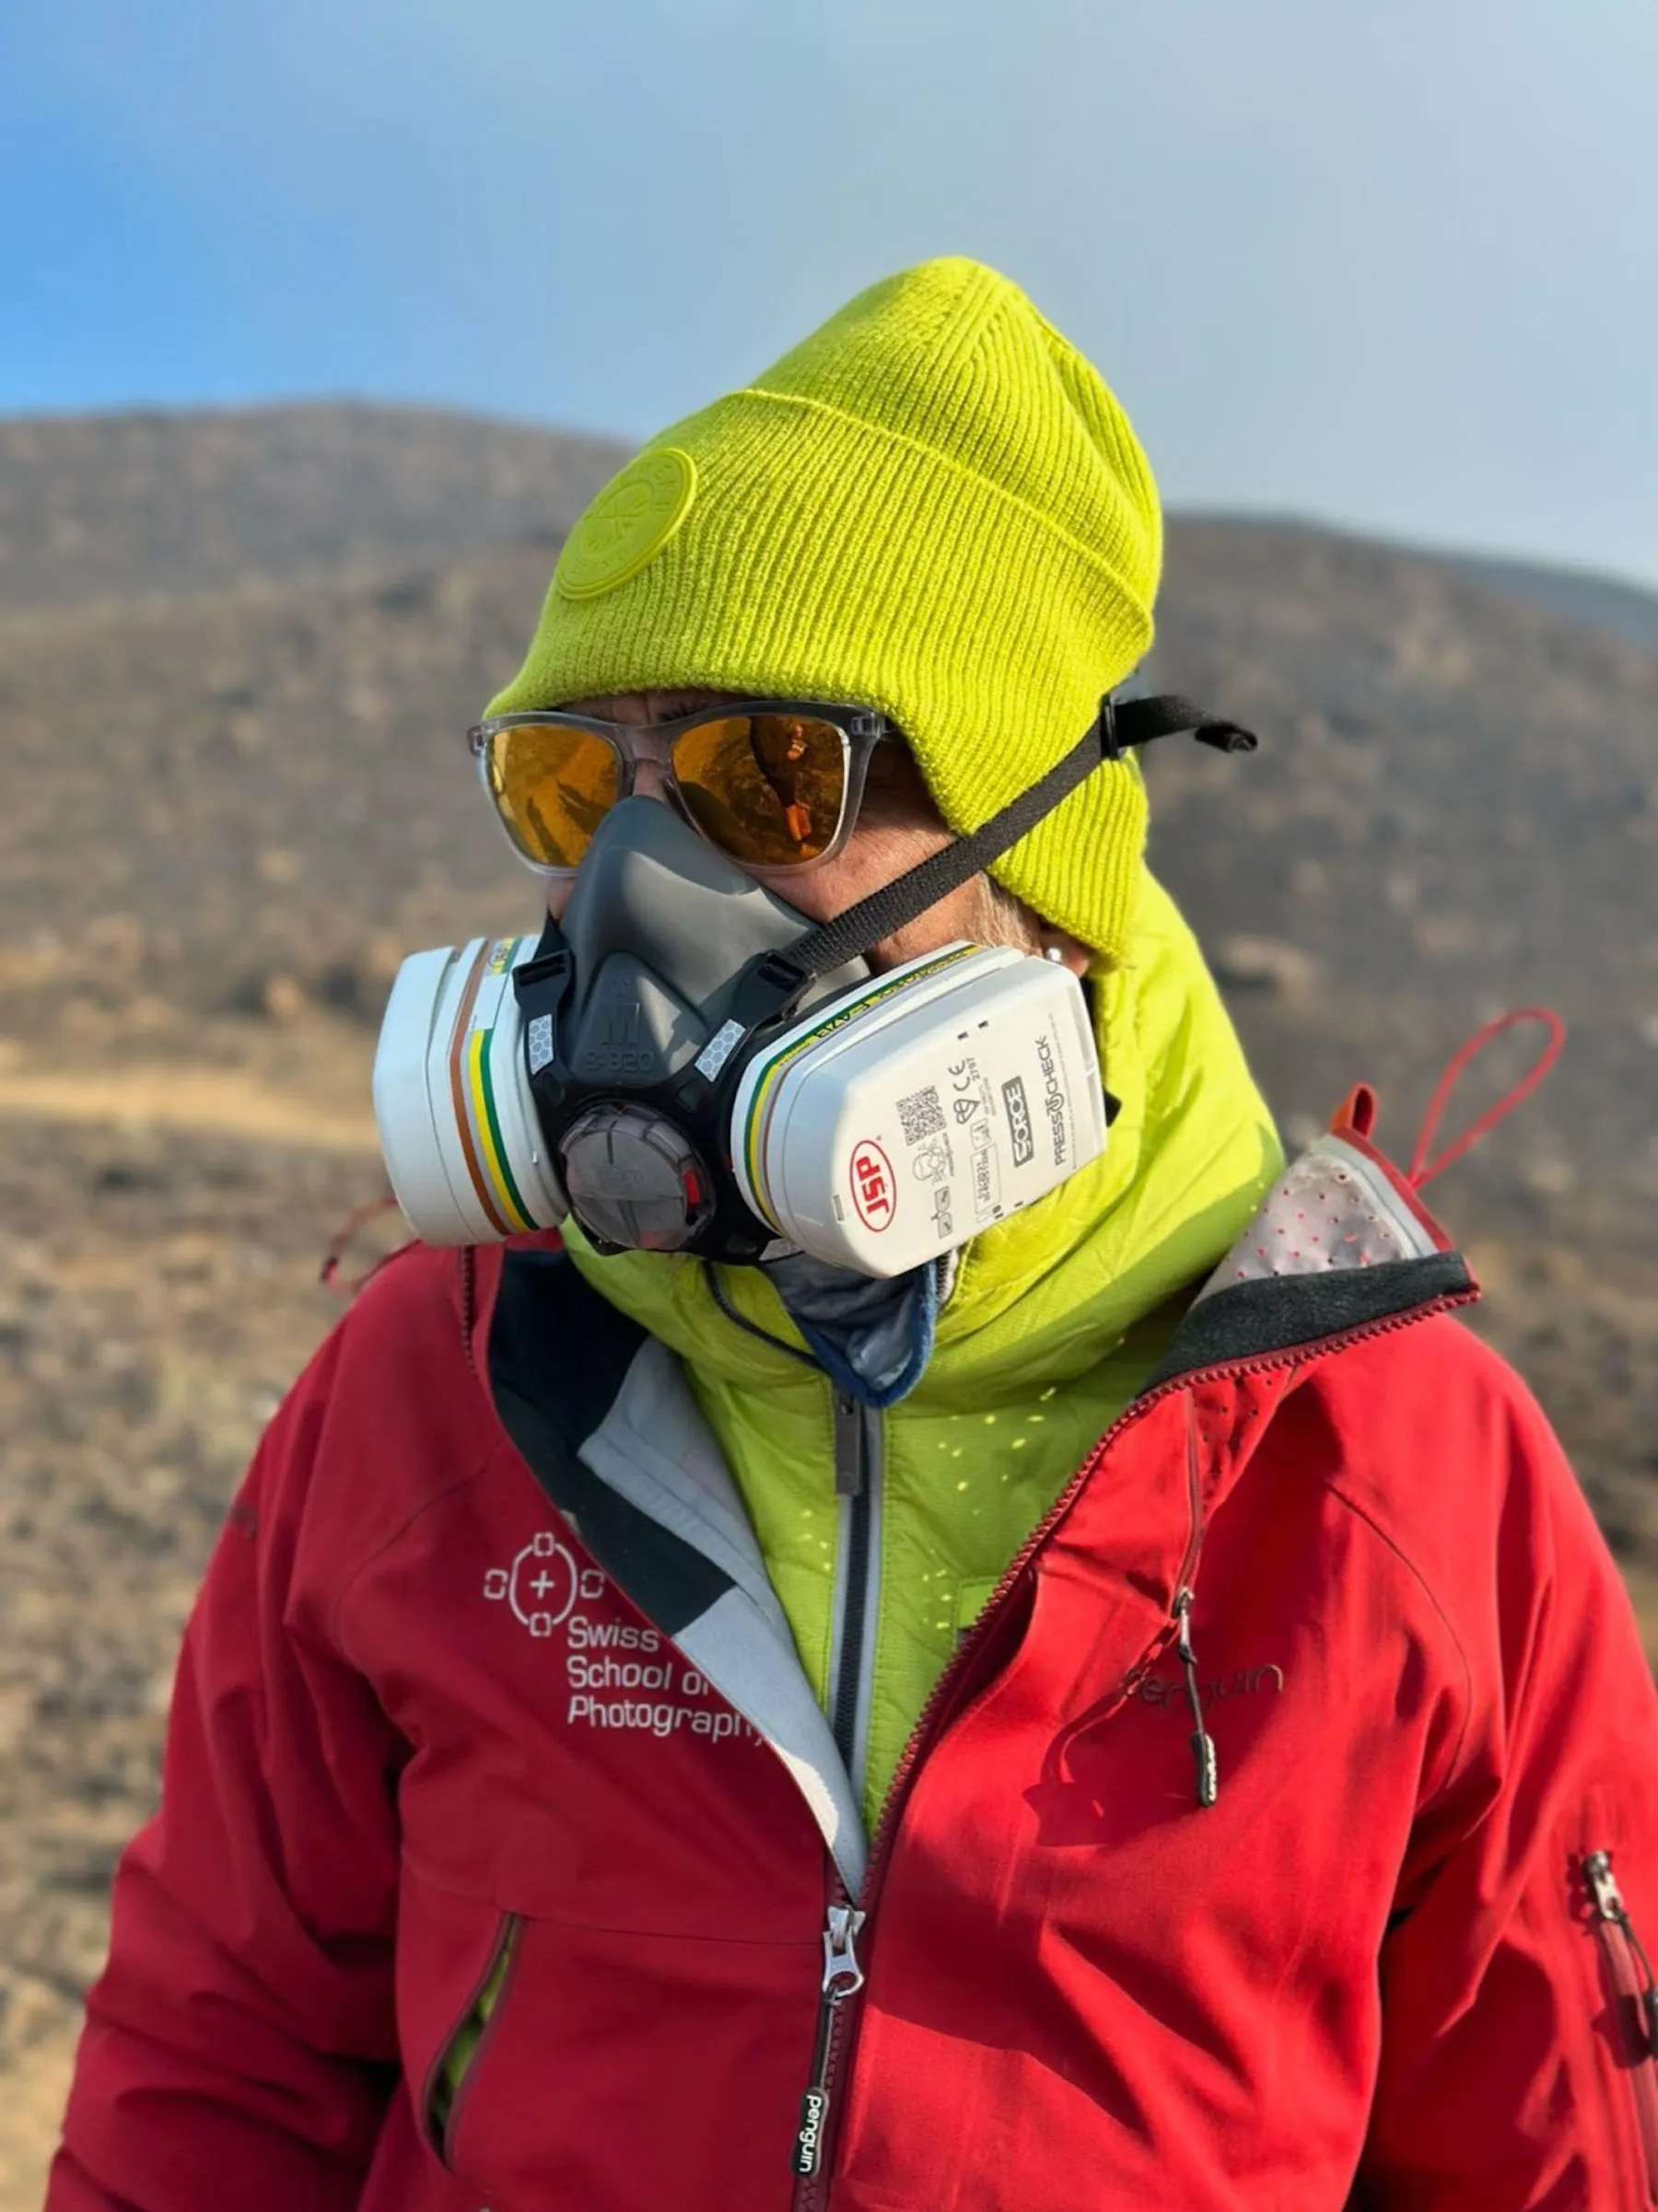
Eyes. The same gases sting your eyes. Wrap-around goggles that seal at the sides keep both fumes and grit out.
Heat and terrain. Never walk on what looks like cooled lava. A crust that seems solid can break and reveal a still-molten core underneath. Stay well back from the flow and the vent.
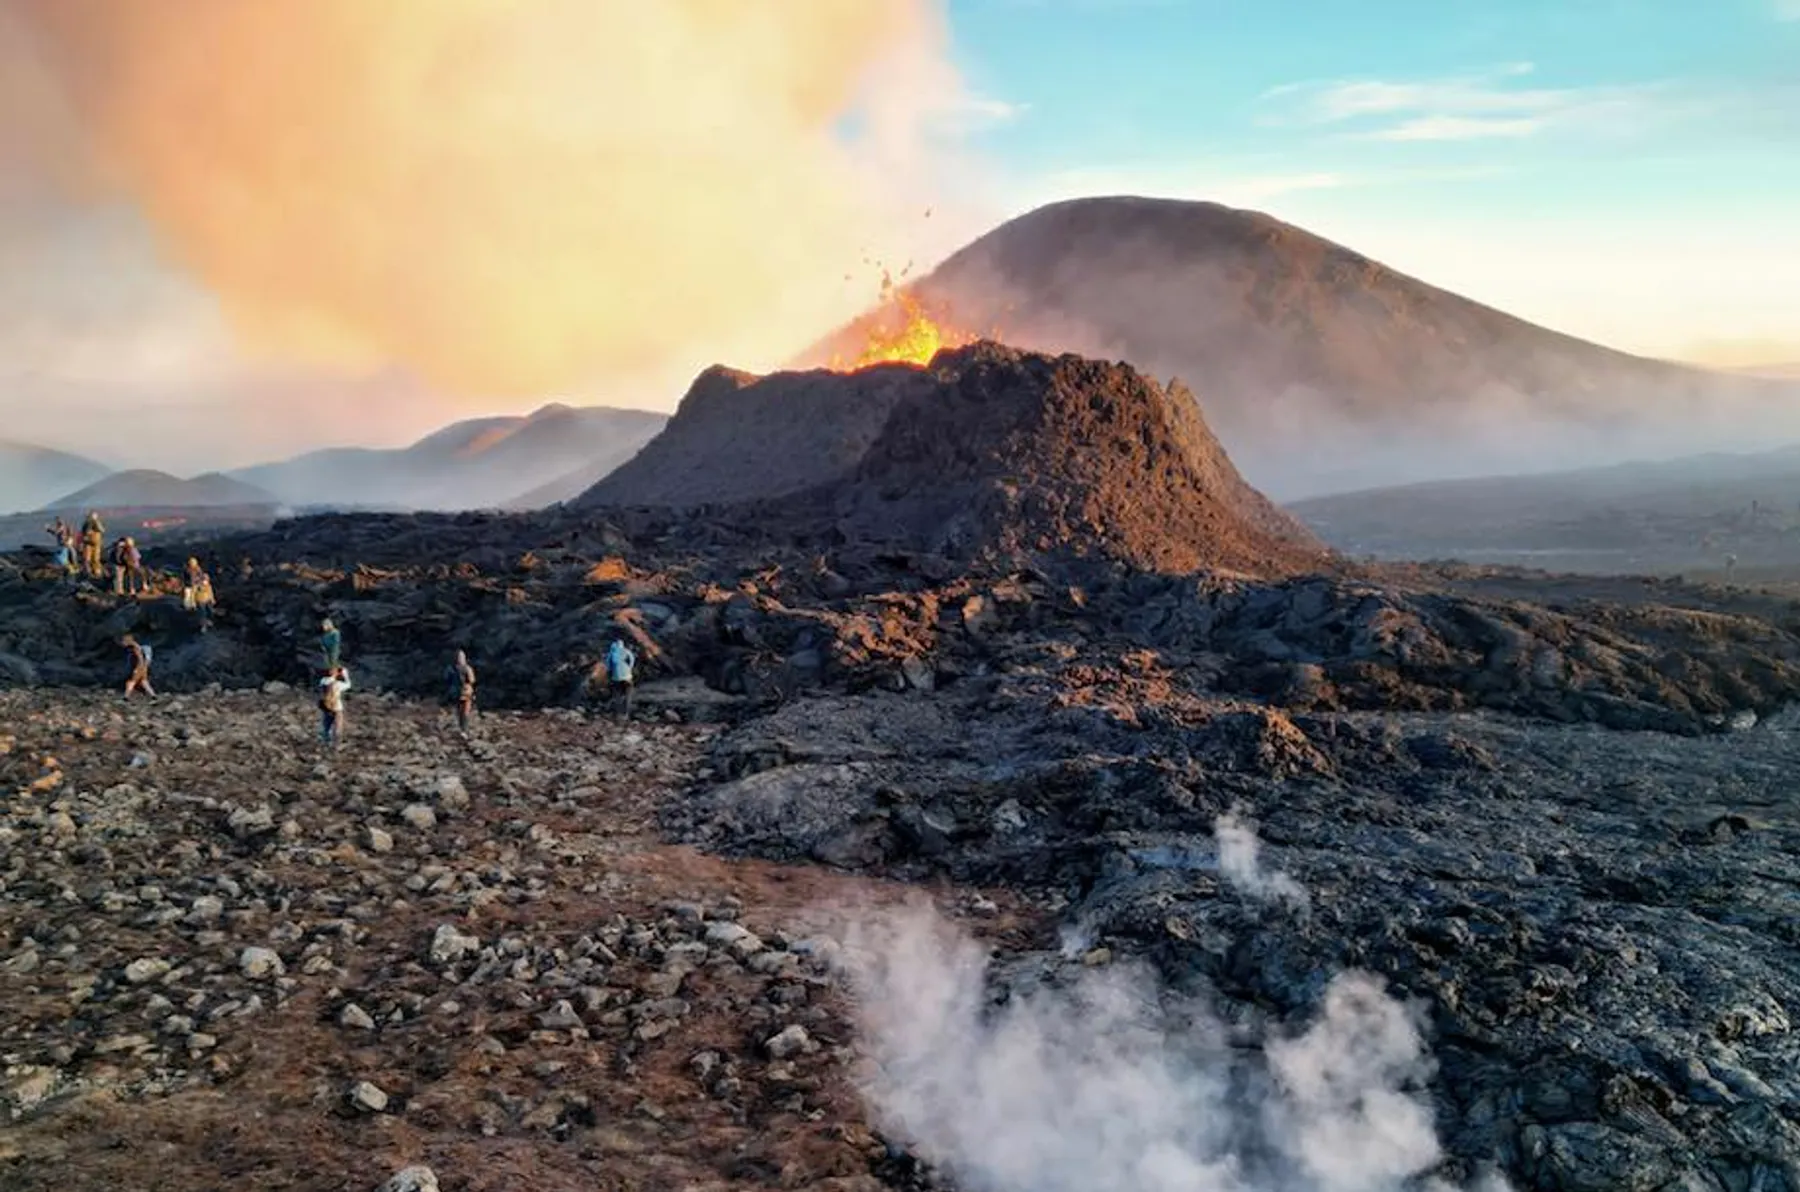
Follow the official information. Stick to the marked route to the site and follow the local geological and monitoring agencies. They know the current activity, the safe distances and the forecast better than anyone. Carry a first-aid kit, plenty of water and enough food for much longer than you think you will be out.
On this expedition we left at around 5 p.m. and did not get back until 5 a.m., spending about twelve hours out on the volcanic field and hiking roughly 20 km in total. It was summer in Iceland, so even through the night the sky never became completely dark.
My favorite expedition food in Iceland is dried fish with walnuts or pecans. The dried fish gives you a huge amount of protein for very little weight, while the nuts are rich in fat and calories, making the combination compact, filling and easy to carry on a long hike. It worked extremely well for us on this trip. Above everything else, though, do not underestimate water. Twelve hours of hiking, photographing and standing exposed to wind and volcanic gases is a long time to be out there, and running short of water is the last problem you want.
And if you can, go with a guide who knows the terrain. It is one of the best ways to stay safe, understand the conditions and find the strongest positions.
Missed the eruption? Iceland is still full of volcanoes
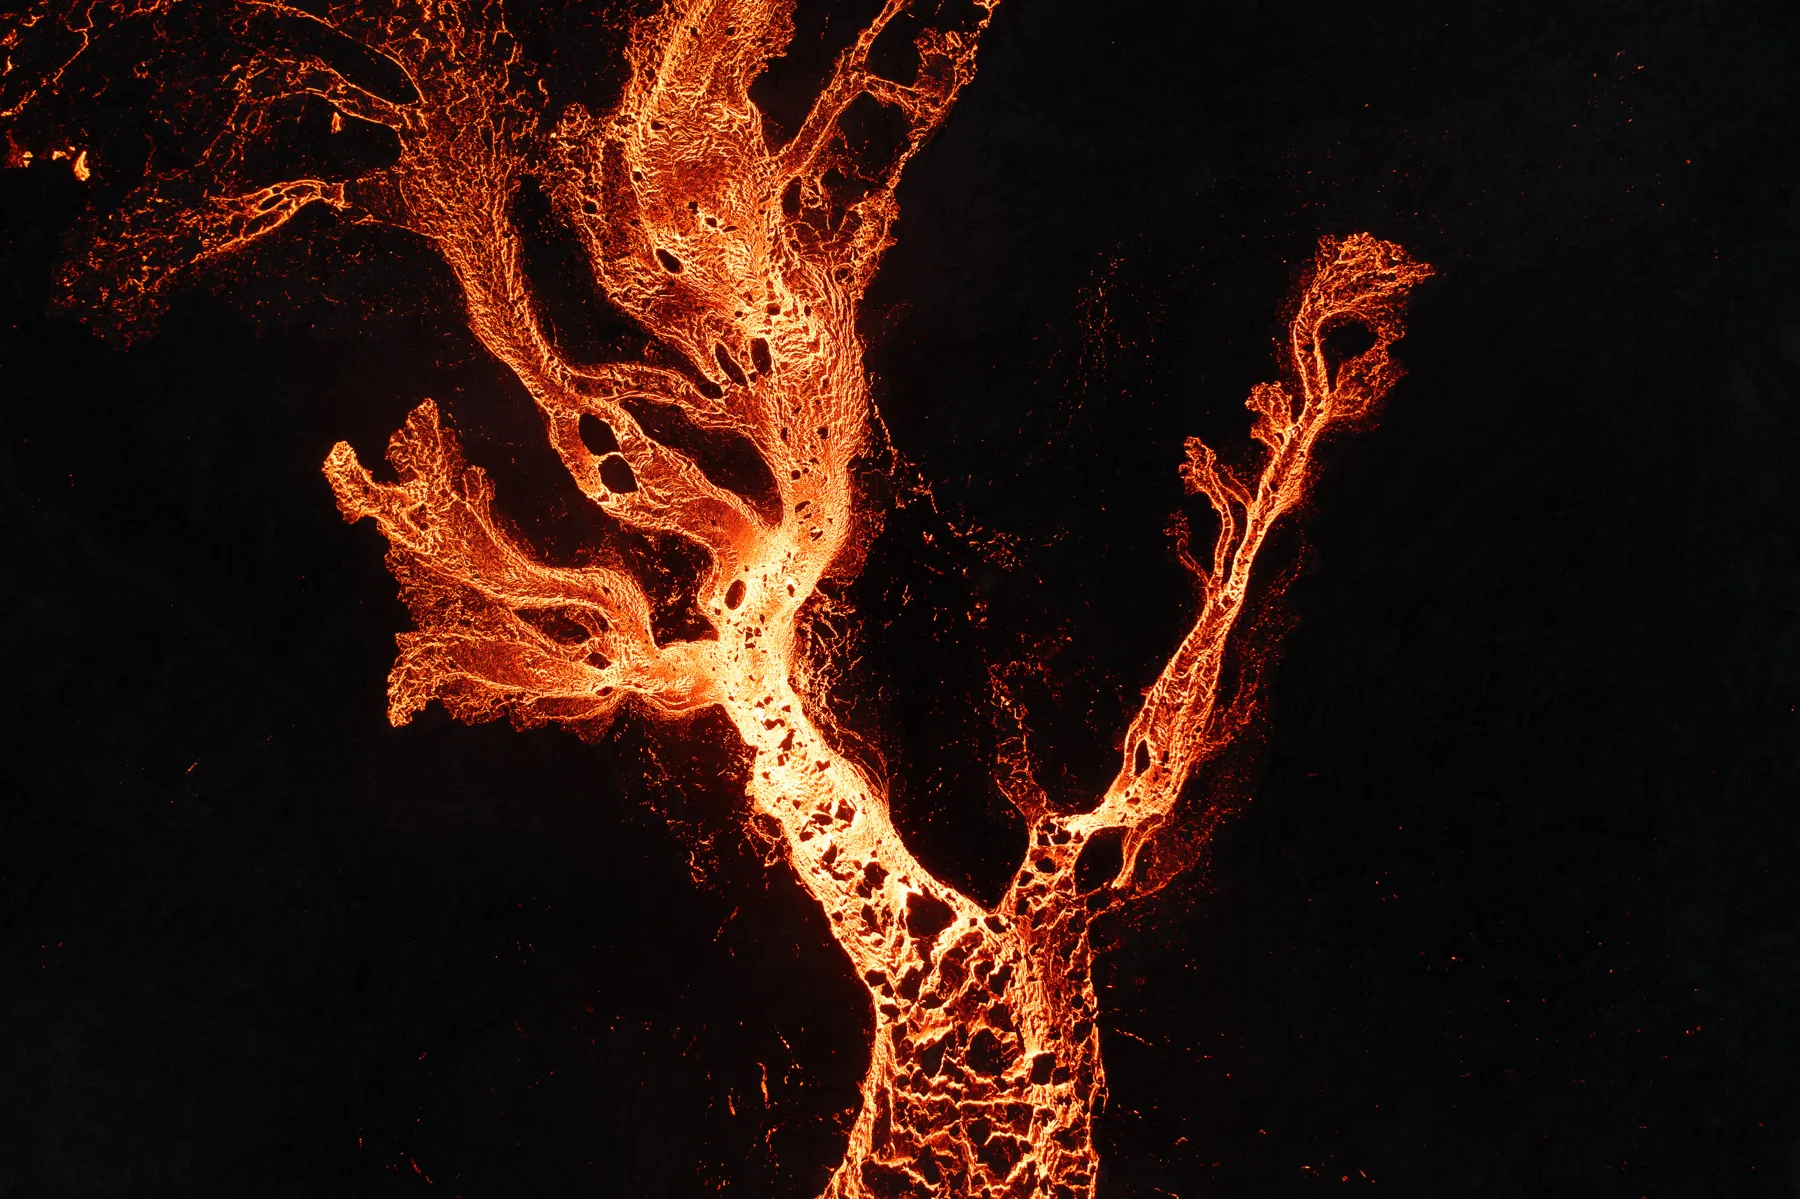
If the current eruption has quieted by the time you arrive, don’t worry: Iceland is built from volcanoes. The Highlands are my favorite: dormant craters now filled with impossible turquoise water, cones rimmed in red iron dust, whole valleys that show you how the planet took shape.
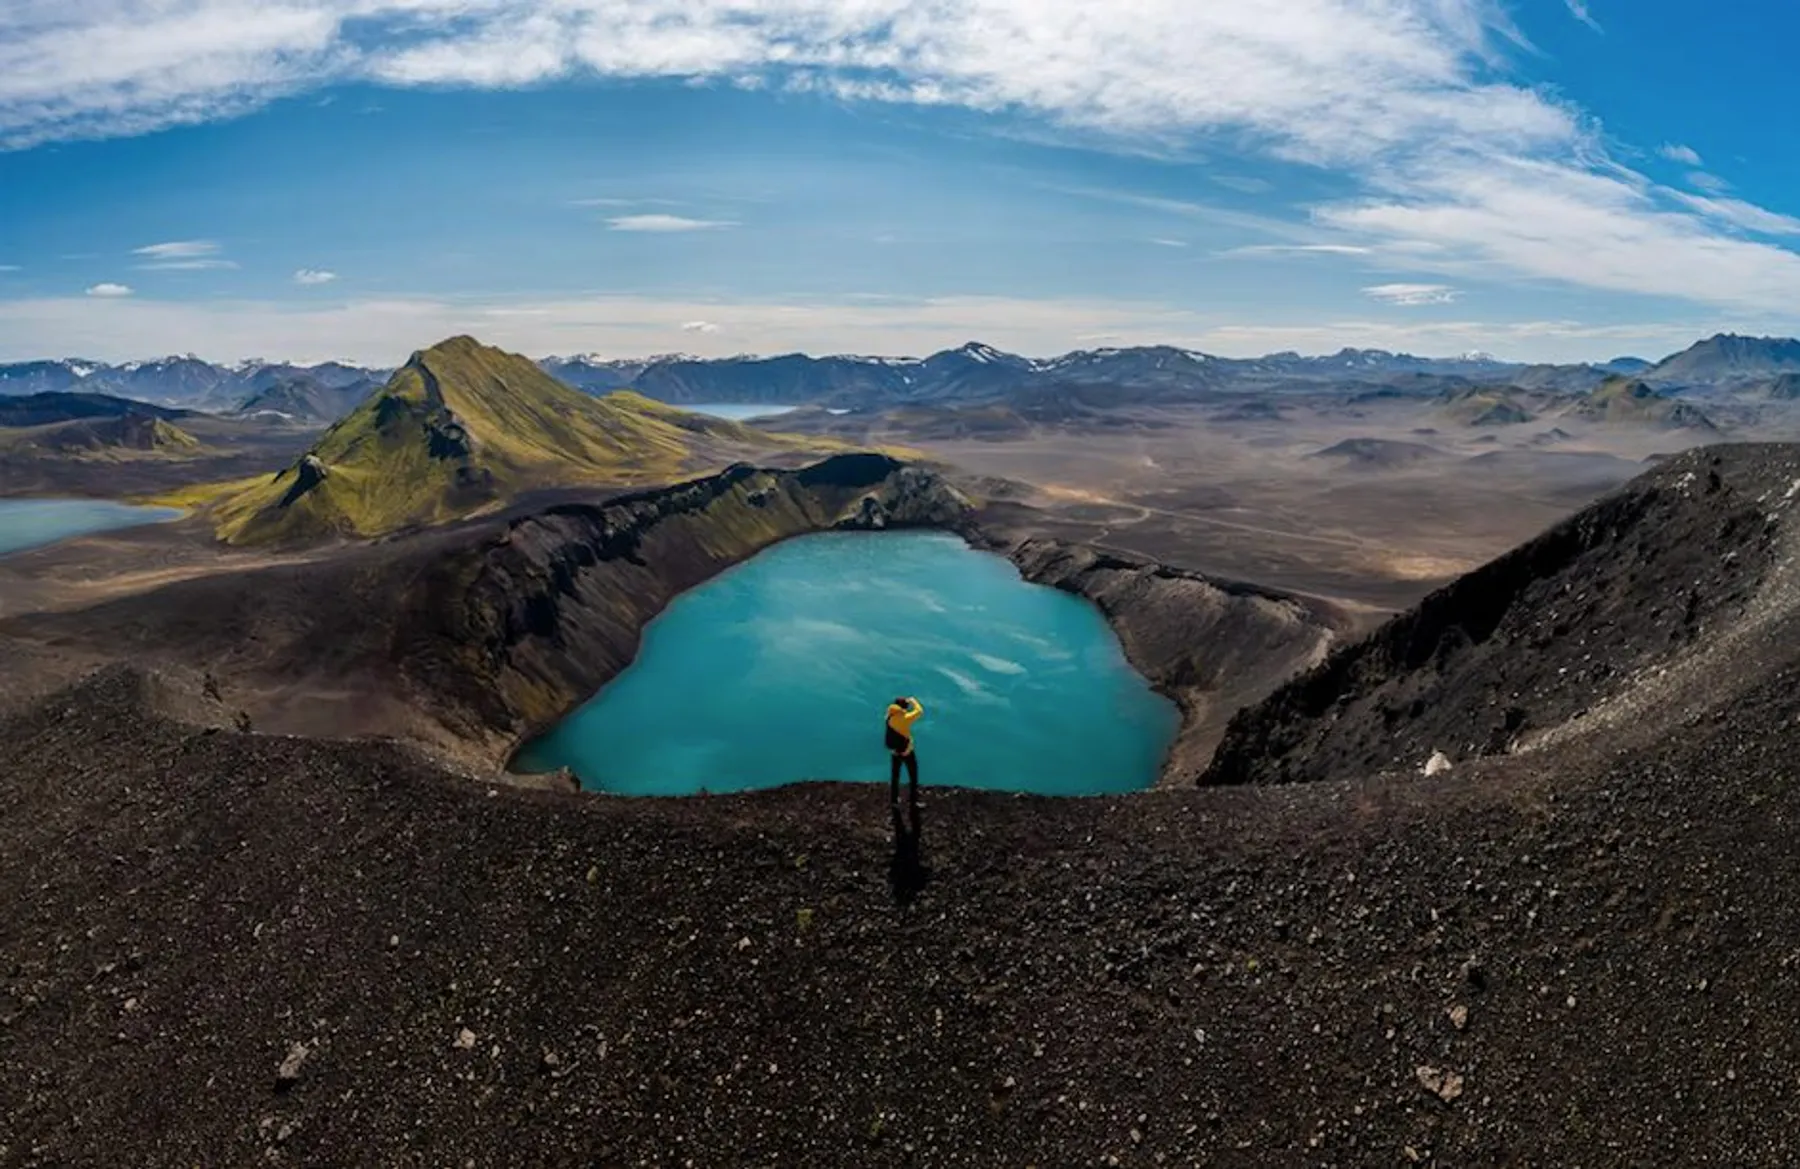
Iceland is one of our favorite places to photograph, and we run it both as a guided photo tour and as a private, bespoke expedition shaped entirely around you: any season, and anywhere on the island, from the Highlands to the coast, not just one region. If you want to fly a drone confidently and legally before you go, our aerial drone photography course covers everything from airspace to composition.
Stay aware, go equipped, and respect the power of nature.